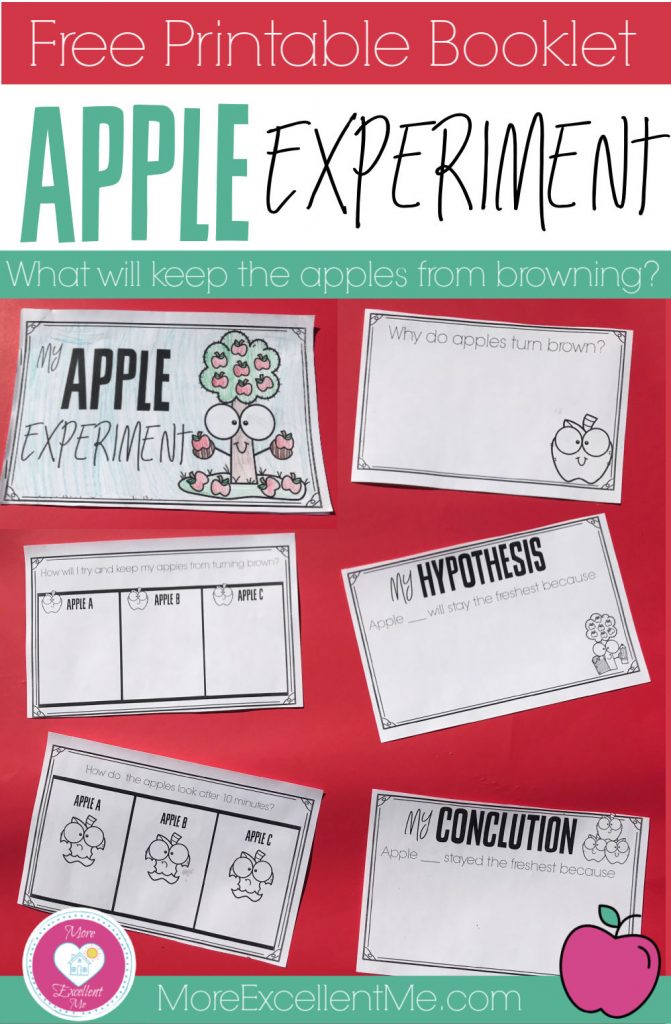
Fall brings many fun opportunities for learning. I don’t know about you but one of the first things I think about when I think about fall is that it’s apple season!
Apples are such an interesting subject to study in the fall. Even though they are something that we are so familiar with there is still so much to learn about them.
This past month my kids and I spent a week exploring this amazing fruit during our morning time together. We knew some things about apples but we had some questions about apples too.
One of the questions that we wondered about was why do apples brown when cut? So we decided to explore that question a little more.
If you and your kids are also wondering why apples turn brown I want to share some resources with to help you find your answer. I also created a fun printable apple experiment that you can use as your explore that question together.
One of the resources we used to answer the question why apples brown was this interesting video from Today I Found Out on Youtube. This video was a great resource that will not only answers the question about why apples brown but will also teach you about some different methods you can use to try and keep your apples from browning so quickly.
After watching this video, we had a good idea of why apples brown but we then wondered how we could best preserve our apples once they were cut. So we decided to experiment and you can too.
Apple Experiment Booklet
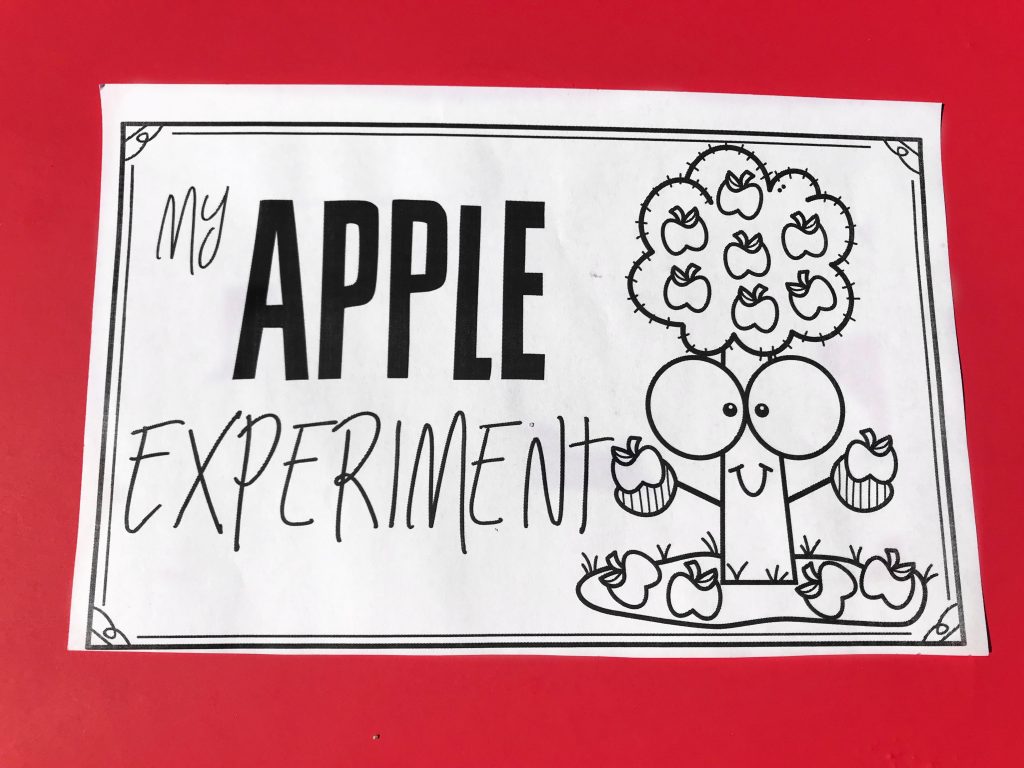
To get started you will first want to download the My Apple Experiment booklet by clicking the button at the bottom of this post. Print one copy of pages 2-4 for each of your kids. Cut the pages in half and stack them in order. Then staple the pages along the left side of the page to create your booklet.
Supplies
- Apple Experiment Booklet (1 per kid)
- Apple Slices ( 3 per kid)
- boiling water
- lemon juice
- cold water
- plastic zip-lock bags
- refrigerator
- paper towels
- permanent marker
- pencil
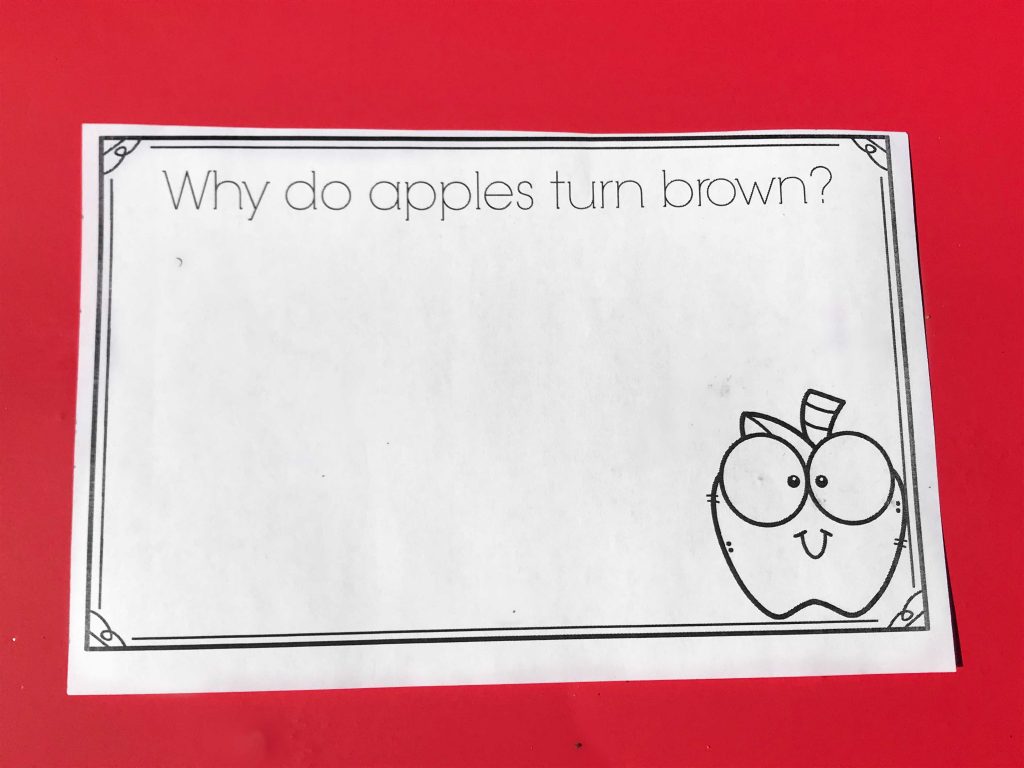
The first page in the packet gives you a place to write down what you learned about what causes apples to brown.
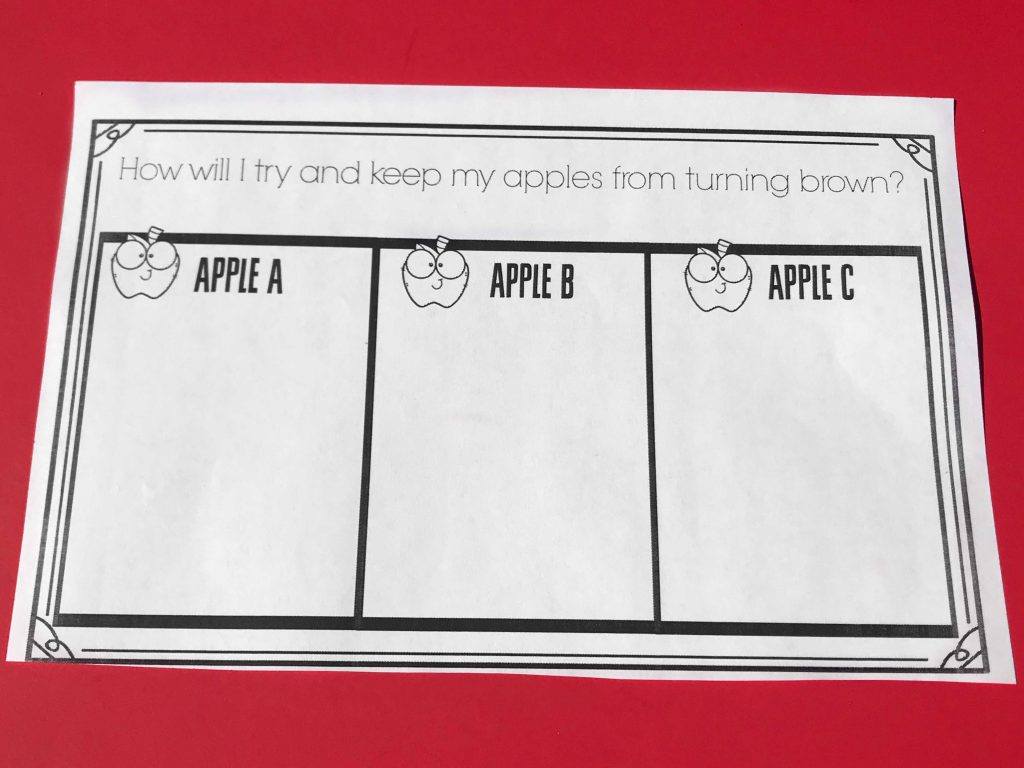
The second page is where you will record what method you will be using to preserve each apple slice. When I did this experiment with my kids I offered 5 choices for them to choose between and they each tried 3.
Our choices were placing an apple slice in boiling water, placing it in cold water or placing an apple slice in lemon juice. They could also choose to place an apple slice on their paper towel in the refrigerator or seal it in a zip lock sandwich bag and squeeze the air out.
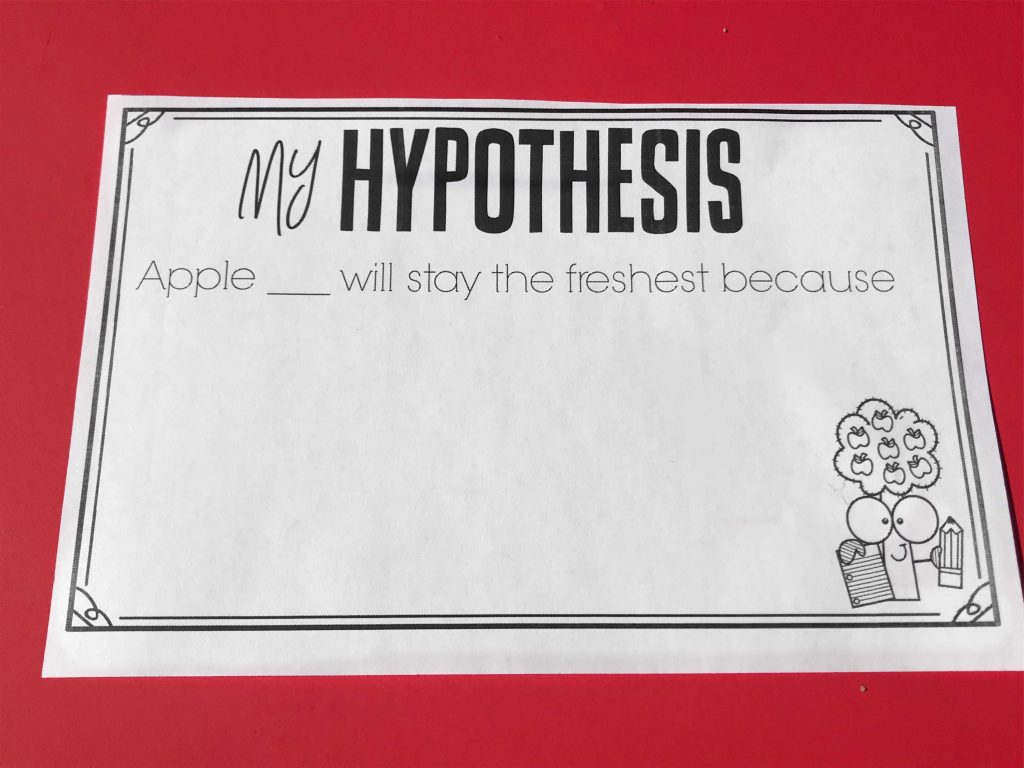
The next place allows you to record your best guess for which apple will stay the freshest. You can also record why you believe that preserving method will keep the apple freshest the longest.
After you fill out this page you are ready to start your experiment. Make sure that you have everything you need ready to go so as soon as you cut your apple slices you can put them in their places at the same time.
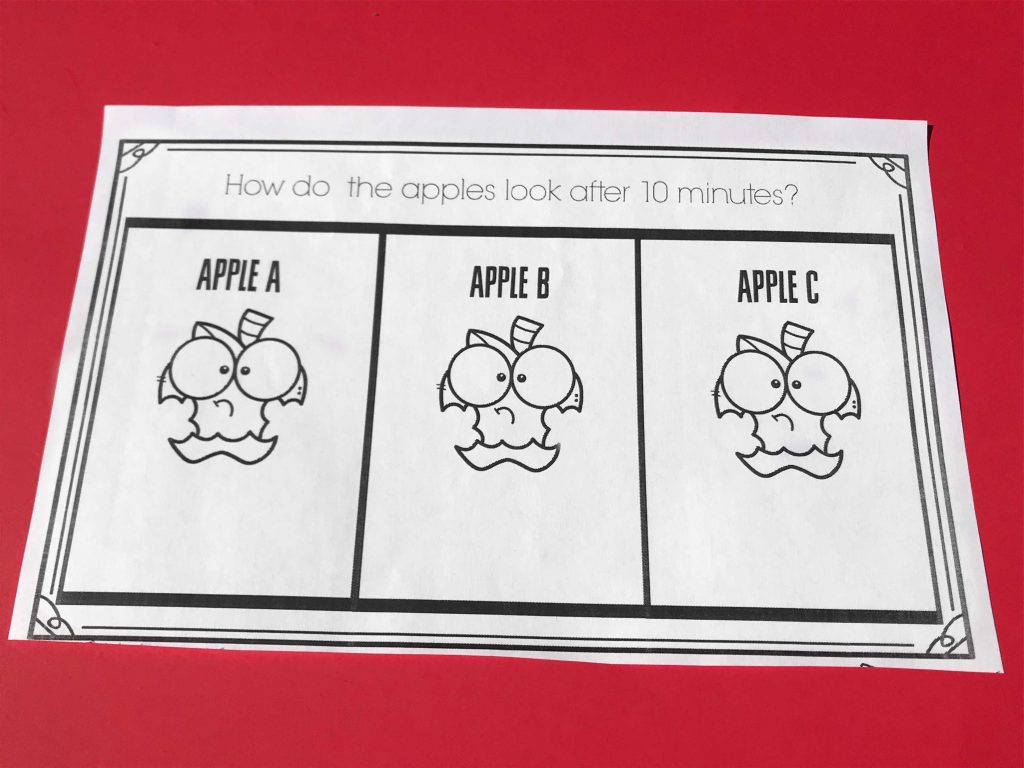
After your apple slices are all in there places to be preserved set the timer for ten minutes. After 10 minutes check on your apple slices and record how they look. You can color the apple picture to show how much the apples have browned and write some descriptive words about them in the boxes as well.
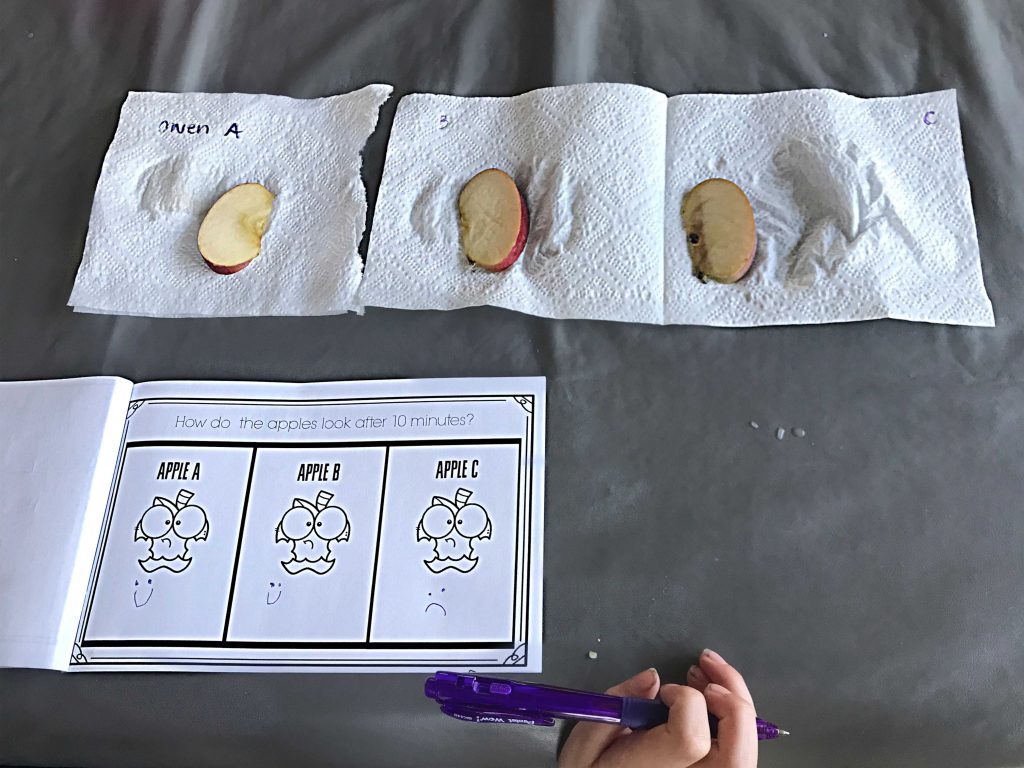
Just for fun we left our apple slices out so we could check them through out the day and see how they continued to change. It was fun to compare how the apples browned through out the day.
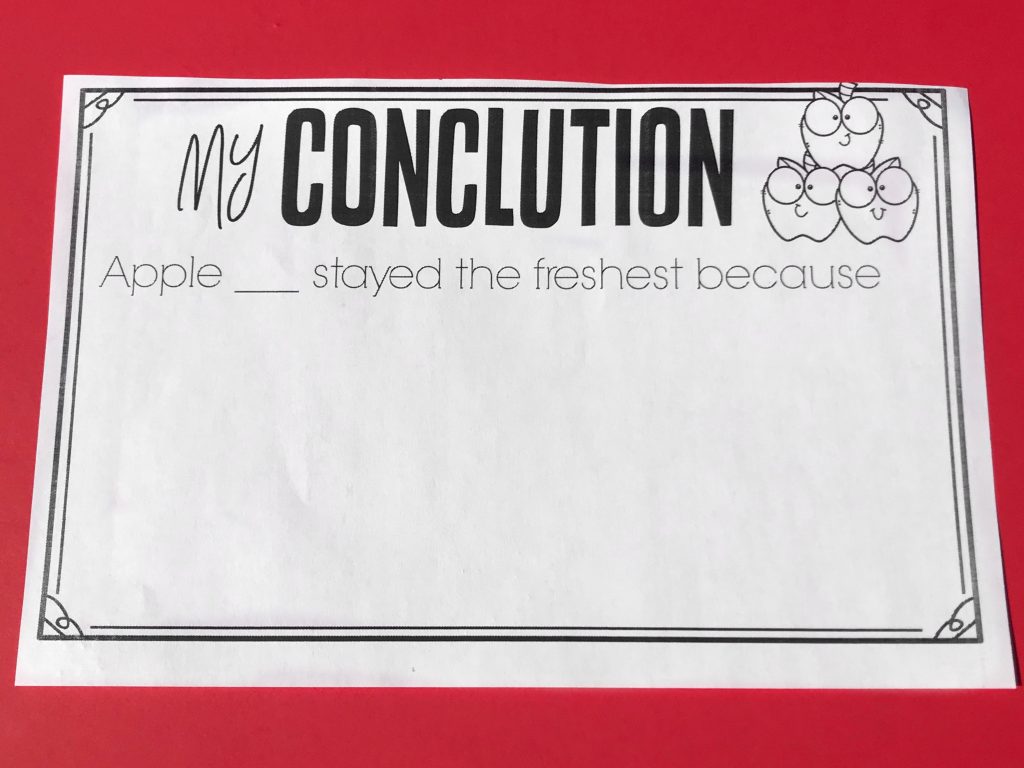
On the last page you can record your result from the experiment. Write down which apples stayed the freshest and why you believe that.
I hope you and your kids will have as much fun with this experiment as we did. Feel free to download a copy of this free printable booklet by clicking the button below. Enjoy!


Hello!
Good cheer to all on this beautiful day!!!!!
Good luck 🙂